- On the Uninstall screen, select whether to remove the management tool using the installer or a custom uninstaller:

Using the installer only supports MSI, RPM, and DEB installers. For these installers, it is not necessary to specify the removal flag (\x, -e, or -r respectively).
You can add a custom path by clicking Add Path, or use a custom uninstaller by clicking Add Uninstaller +, adding the required information, and clicking Save.
- On the bottom right of the page click UNINSTALL:

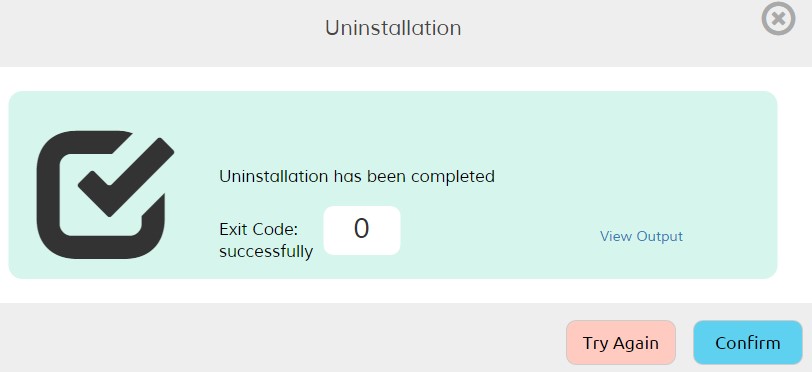
- After the uninstallation has completed, verify that the process was successful. You can click View Output to see the output from the command that was run. You can also login to the test server and make sure that the processes have been removed. Once you are satisfied that the uninstallation was a success, click Confirm. After you click Confirm a clean-up process will be triggered on the test server. This process may take some time to complete, as there are many files left over by the original installation.

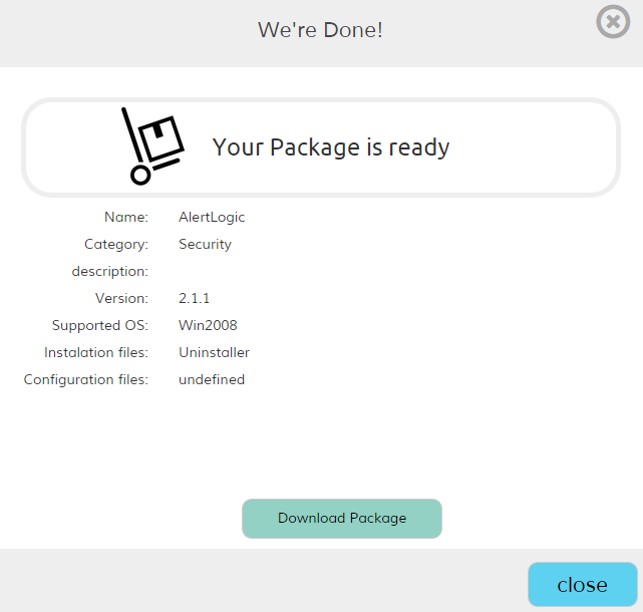
- Once the removal is confirmed the new package is added to the repository, and you will be able to download the managed agent. To download the package now, click Download Package. The package will also be available for download at any time from the Self-Packager main page.

You can configure custom actions to be executed on endpoints before or after various managed agent events. (Before Uninstall, After Uninstall)
Comments
0 comments
Please sign in to leave a comment.