
- Click Add Installation Files:
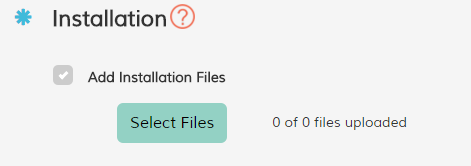
- Upload all files and folders needed for installing the management tool. The directory structure will be maintained ONLY when using the Select Folders option.
- Include prerequisite installers and associated libraries. Do NOT upload scripts used for event actions or your prepared configuration templates at this time:
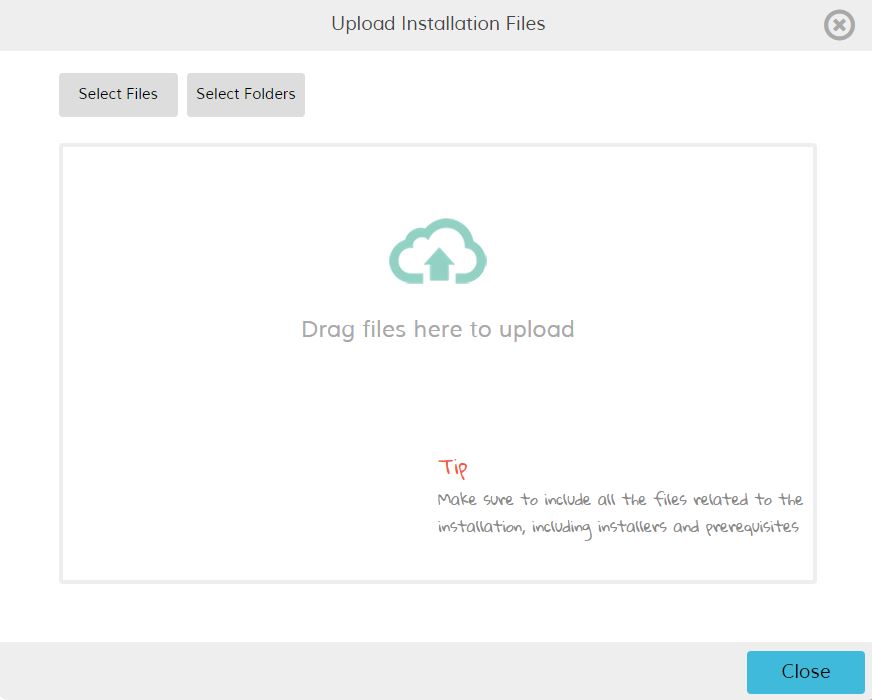
- Click Select Files or Select Folders, and browse to the files or folders that you want to upload. Click OK. Alternatively, simply drag the files onto the screen.
- When the upload is complete, click Close.
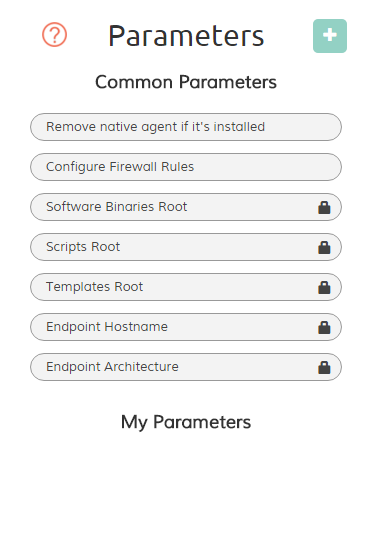
- For command parameters and configuration values that are not identical for all endpoints, you can configure Parameters, which will appear in the management package's Managed Agent Settings tab as fields specific to the management tool type. You'll need to do this if you used any of these parameters in configuration templates, and you'll also be able to reference these parameter values in configuring installation commands (below).
To configure a parameter:
- On the right side of the page, by Parameters click
 :
:
- Configure the parameter:
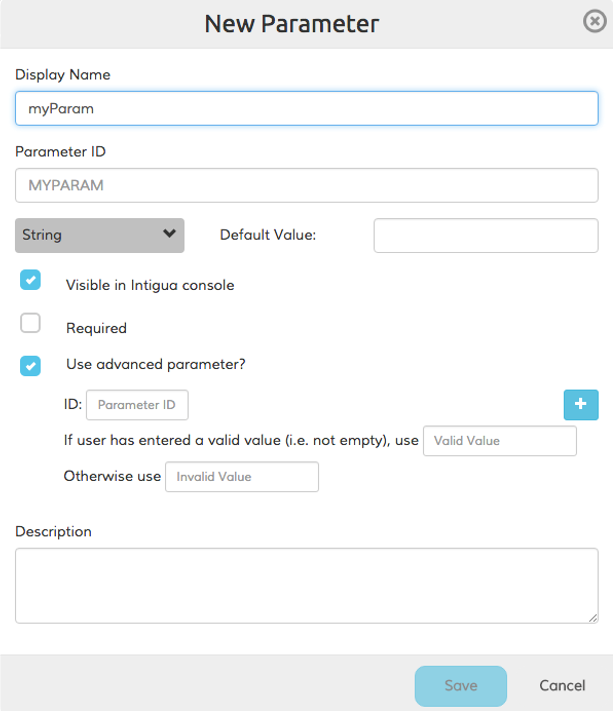
- Display Name: Field label to appear in the management package
- Parameter ID: To be referenced from commands and configuration files that you'll configure here in the wizard. No spaces allowed.
- Encrypted Password, String, Text, Number, Boolean, Password, IP Address: For value validation
- Visible in Intigua console: Select for the field to appear in the management package.
- Default Value: Required if not visible in the Intigua console
- Required: If selected, the management package can't be saved without a value for this parameter
- Use Advanced Parameters: Allows you to create dependencies between parameters when creating management services in Intigua 3.2.
- Click Save.
- On the right side of the page, by Parameters click
- If there are required prerequisites that must be installed, then follow the steps to
 add dependencies.
 - Configure the management tool installer using the following steps:
- Click Add Installer +:

- Click the browse icon, and select the installer to use.
- In Arguments, type any necessary command arguments. For per-endpoint parameters, type "@" to enter a parameter into the Arguments field. For example:
For MSI, RPM, and DEB installers you don't need to specify installation (/i, -i) or silent (/q, -q) arguments.
- Provide the Exit Code that indicates success. Default is 0.
- Click Save.
Note: If you configured multiple installers, then set their order of installation by dragging them to the desired position.
- Click Add Installer +:
- If the management tool requires a resolved configuration file to be in place before the installation, then follow the steps to
 configure deploying a configuration template.
 - At the bottom-right of the page, click Install.
At this time the Enter Parameters Values window opens. Make changes, if necessary, then click Install.
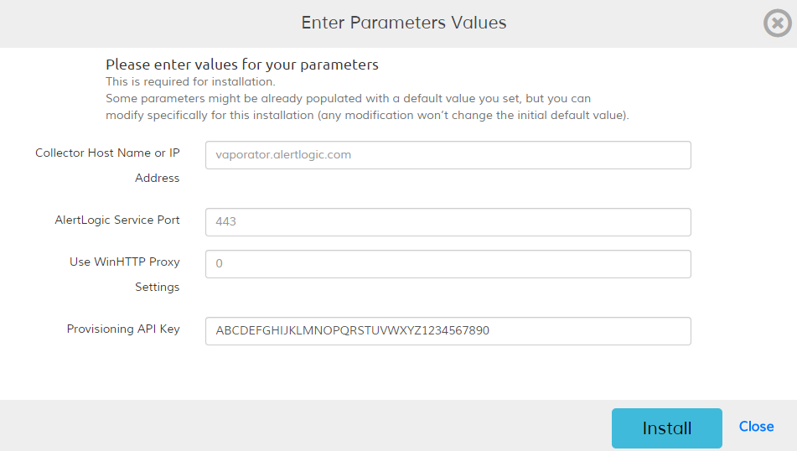
The wizard installs the management tool and analyzes the process. This may take some time.
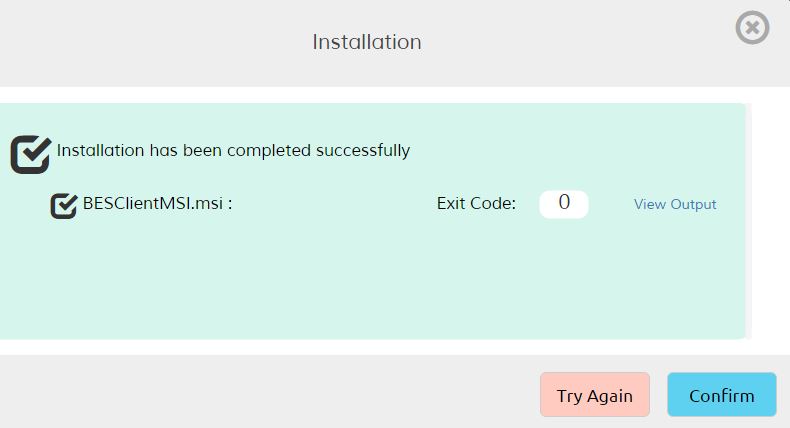
- After the installation has completed, verify that the process was successful. You can click View Output to see the output from the command that was run. You can also login to the test server and make sure that the processes are running. Once you are satisfied that the installation was a success, click Confirm.
You can configure custom actions to be executed on endpoints before or after various managed agent events. (Before Installation, After Installation)
Comments
0 comments
Please sign in to leave a comment.